I know there are a lot people out there who want to be better at Photoshop - heck, I've been doing this for almost half of my life and I want to be better! Well, I was really thinking about it and it dawned on me that more often than any other tip, I'm telling people they really should master the pen tool. It is hands down the most advanced and precise selection tool and if you boil Photoshop down to its simplest form, it's a SELECTIVE photo editing software. So I thought to myself, "Hey self, why not really dive deep into selection tools - how to do them, when to use which one, and why they are so dang important?"
Luckily I have this wife person I live with who I get to ramble off my random ideas to and she can set me straight about things. In other words she was all, "Robert, if you really want to dive deep, why not separate the different selection tools into their own posts rather than trying to cram all that information into one post?" Well played, Sara, well played. So yeah, that's happening. This is going to be the first installment of several posts about the various selection tools. And yup, you guessed it (or read the title...) - this post is about the pen tool. I'm sure many of you already use it regularly (*high five*) and will know most of what I'm talking about in this post, but you might pick up a few tid-bits. (I love a good bit of tid.) For those of you who don't already use it, if I can turn a small handful of non-believers into pen-tooling-bad-asses, then I'll have made the world a better place ... or something .....
Thanks to Shelby Robinson for the behind the scenes pics!
If you ask me, the pen tool might be the most important tool Photoshop has to offer, or at least it is for my workflow. Sure, the paint brush does come in handy ... basically all of the time, but my digital painting would be a zillion times more difficult if I didn't use the pen tool to help me "color inside the lines." When I start an image, generally the first thing I do is the dirty work - the boring, tedious, technical work you have to do to get to the fun part. By "dirty work" of course I mean I trace out most of the selections that are going to make my editing process go much more smoothly and my end product look a kabillion times better. Using the pen tool isn't usually the fastest way to make a selection, but it's always going to be the most accurate. Not to say the other means of selecting are wrong and never to be used, but that's for another post ...

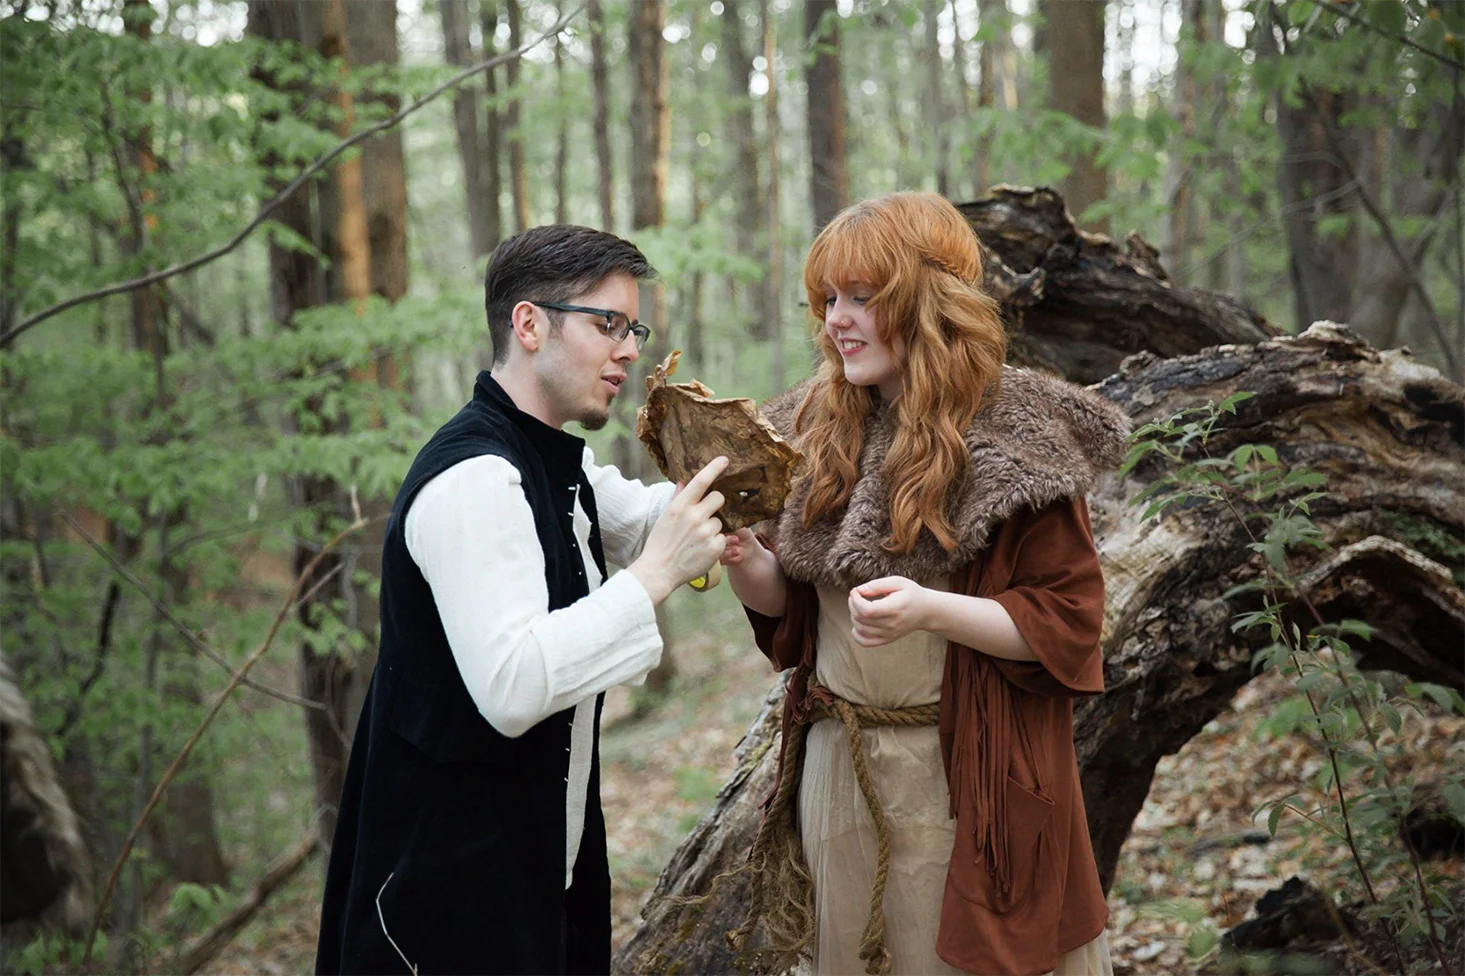
I shot this image at a wonderful meet-up held by the star of my recent image, Aleah Michele. (Please note the moody group of badasses in the image below; they were the magical participants of said glorious meet up.) Unlike many of my images that are shot on a solid background and composited later, my subject was actually in the scene crawling out from under a fallen tree. (Her name is Rowan and she is the bee's knees.) When I do a studio composite I obviously HAVE to select the person to slap them into a new location. However, for an image like this one shot on location, most people would think, "Ok cool, I don't have to clip them out at all because they are already there. HUZZAH!" Well shut your damn mouth you hypothetical-corner-cutter-person, because no matter what you bet your ass I'm selecting my subject. Every. Single. Time. This maneuver isn't for everyone, but it's definitely for me (...and probably you...) Once you start taking the time to make your selections first thing, you'll realize how very many times it comes in handy throughout the rest of your edit and just makes life easier.

To create "The Oracle" I knew I'd need a good selection of Rowan because I was going to add light coming from behind her. (Feel free to reference this post for an explanation on how to go about doing that.) Plus, she blended into the scenery too well and I wanted her to be more noticeable, therefore I would need to affect her separately from the background. Also, I was obviously going to be adding a fair amount of light to the background behind the tree as well ... sooooo yeah I'm the spaz who took the time to select allll the way around the tree. As I mentioned before, this part of my editing process is not my favorite, but I know if I do all of my "homework" first then I can "go outside and play".... well... stay inside and Photoshop, but you know what I mean.

(Side note: Let's start saying "PT" instead of "pen tool" from here on out. I have a strong feeling I'm going to be saying it more and if I have to type "pen tool" one more time .... well clearly nothing will happen because I just typed it, but let's just say PT ... k thanks. Anyway Robert, will you quit babbling on about why making a good selection is the best and just give some dang tips on the freakin PT already!?!)
It's Not Very Intuitive...
If you don't have someone to show you, or at least tell you a couple of things about the PT, it is just not very user friendly. In fact, for YEARS I thought it was about the stupidest tool (other than the knife tool, what the crap is that even for!?!?!) and never touched it because it didn't do what I wanted it to. I would be fine for the first couple of clicks, but then I'd hit a corner and want to make a sharp turn and the dang thing just wanted to be all loosey-goosey-Dr.Suessy and continue the smooth arcs. Turns out you just have to know to use the OPTION and COMMAND keys the entire time. (For you PC users whenever I say OPTION replace it with ALT and COMMAND is CTRL.)

Basically you click to make your first point, then when you click again it will connect the two, starting your path. So far so good, right? When you make a point, if you click and drag you can make the path bend. Once you have a curve in your path, for the next point you make it will want to continue a fluid curvature. However sometimes, as I mentioned, you will need to make a sharp pointy turn. Hold down OPTION and click on the last point you made, then after that you can branch off of that point from any angle. (You'll see a little upside down "V" appear next to the pen when you hover over a point while holding OPTION. Please note the top right of the graphic below.) You can also do the opposite, meaning if your path has a hard corner and you want it to be a smooth bend, you can hold OPTION and click and drag on the point to turn it back into a curve.

The other key I mentioned that you just have to know to use is the COMMAND key (CTRL for PC). If you hold the COMMAND button you'll notice that the little pen turns into a white arrow - with this alternate arrow you can grab any point you've already made and move it around, or even grab either of the little "handles" coming off of a curved point and adjust the bend to your liking. The nice thing about a path is that you can always go back and alter it with ease. For example, if you hover somewhere over your path you can add a new point (you'll see a little "+" next to the pen), or even get rid of a point by hovering over and clicking any existing point (obviously for this you'll see the small "-" symbol next to the pen). Be sure the little "Auto Add/Delete" box is checked up at the top of Photoshop for this to work.
Some Pre-Penning Setup Tips
As you've hopefully gathered from the first tip, the PT just isn't going to be your friend if you don't know some tricks ahead of time. There are actually several things you can do before you even click your first point that will make life much easier for you. First of all, I'm all about hot keys (or quick keys/quick commands/whatever you want to call the buttons that make things go faster). The default quick command for bringing up the PT in Photoshop is just hitting the letter "P." However, depending on your settings, if you hit the "P" when you already have the PT selected, it will cycle to the next tool nested under that one. Meaning it will change to the Free Form Pen tool (which I never use).

I prefer my tools to cycle through like this, but you can also change it so you have to hold SHIFT to cycle through the tools. If that's your cup of tea, go to the Photoshop drop-down menu at the top left/preferences/tools and uncheck the box that says "Use Shift Key For Tool Switch." (See above.) What I'm getting at here is that often times I already have the PT selected and I get trigger happy and hit "P" again and it cycles through to the next tool and I don't ever want anything other than the regular PT. So, what you can do is go up to the "Edit" menu and go way down to "Keyboard Shortcuts," then at the top of the pop-up window there is a drop-down menu next to "Shortcuts For" and from there you can select "Tools." (See below.) Now you'll have a list of all the Photoshop tools with a little letter next to most of them. What you can do is delete the little "P" from next to all the extra PT variations other than the classic Pen. This tells Photoshop that whenever you hit "P," the only thing you want is the regular PT. I also do this for basically all of my quick commands. For example I only ever use the regular Brush tool, so I delete all the other "B"s next to the other brush tool variations, but I use the patch tool and healing brush about equally which are under the same quick command, so I leave the letter by both of those so I can cycle them. Get it?

Another thing that is very handy to set up ahead of time is your "Path Operations." Basically this is to tell Photoshop that when you make multiple paths, if one is inside of another it should be a hole in the larger selection ..... let me explain better. Let's say you're cutting out a pretzel. You trace all the way around the outside edge, then you go on the inside and cut out the three holes in the pretzel. If you have your "Path Operations" set wrong, when you make a selection it could just keep making the selection of ONLY the outside edge and not have the holes in the middle. Also, sometimes it will be set so that when you make the selection it selects everything on the canvas OTHER than what you penned around. Basically it's super annoying if you don't have it set to the "right" one. So at the top of your Photoshop window when you have the PT selected, there should be a little drop-down to the right of where it says "Selection, Mask, and Shape." (If you hover your mouse over it and hold still for a second it will say "Path Operations.") Click on that bad boy and set it to "Exclude Overlapping Shapes" at the bottom. You're welcome.

One last thing - much like the holding-shift-to-cycle-thing, this is a matter of preference so you'll just have to try both to see what you prefer. Up at the top again, a bit to the right of the "Path Operations," is a little gear where you can turn on the "Rubber Band" function. Basically this is just deciding whether or not you want the Pen to always show the line coming from your last point to wherever you are moving the curser. Some prefer to turn it off so that the little pen icon is free floating around and you don't see the line connect until you make a new point, but I like to see where exactly my line is falling the entire time so I keep it turned on. Your call, friend.

You Can Make and Save Selections
After you've set everything up, learned the secret buttons and crafted your perfect path, you might be thinking, "Ok Robert, great. I DID IT! .... Now what do I do with it?" I'm so glad you asked. Well, once you get all the way around your whatever it is and connect your path to itself, you can right click anywhere on the path and a pop-up menu will appear. Towards the top you can pick "Make Selection." From the dialog box that pops up you can set your feather radius, which really depends on what you're cutting out and how sharp you want your edge to be. I tend to feather by .4 pixels, but this is by no means the secret formula.

One of the many zillions of other handy things about using the PT for selections is that once you've made your path, you can save it for later. If you go to the paths tab (I keep it in a tab under my layer palette like you can see in the above image), you'll see that the last path you created is called the "work path." It's very important to take note of this, because if you keep editing after you've made your selection and start to create a new path, you'll lose whatever your last "work path" was. Which can be all kinds of tragic. So once you've taken the time to carefully cut something out, I suggest you save your work even if you don't think you'll want it later on. After your path is ready (or whenever really), you can double click on the "work path" and it will bring up a little window and all you have to do is name it. Now at any point down the line you can go back to the Paths Tab, click on your newly named path and edit it to your liking.

Sometimes It's Fine To Make a LOT of Points.
Oftentimes if what I'm cutting out has a really detailed/complicated edge (like a crazy tree perhaps?), rather than taking the time to carefully make perfect curves around everything, I just zoom way in and click around the edge somewhat frantically ... It's a lot more like tracing something in a way, and even though you are making way more points it can actually take less time. Plus I've found after a while you can get pretty accurate/fast at the "many clicks method." Does anyone else ever do this? Am I crazy?

This is for sure NOT something I do for everything. If I'm cutting out my subject for instance, I'm going to take extra care and be sure my edge is as perfect as possible. However, for something like the tree in this image, I knew I was going to be blurring many parts of the edge of my selection (because of my depth of field, parts of the tree were artfully dropping out of focus), so it didn't have to be ABSOLUTELY precise. Also this method doesn't make sense if you're cutting out something with a very smooth edge that has lots of flowy arcs and bends or even lots of long straight sides. In that case you'd obviously take your time and make the use of the clicking-dragging-curving-paths. If you take a gander at the speed edit video below, you'll definitely see what I mean by a lot of clicks when you get to the part where I cut out the tree. Oh and just an FYI I speed up the PT-ing parts of the videos even more than the rest of the edit for time's sake; don't think that I go that extra crazy fast when I do it.
(Side Note Number 2: I almost forgot to mention that I used this new magical brush set from The Image Manipulation Store and they are SO amazing. Seriously, you won't believe how useful/wonderful/magical they really are. Most of the bokeh/particles throughout the image, especially in the glowy horizon, were created with the brushes. I LOVE THEM! Expect to see me use them A LOT in the future.)

In Conclusion....
Obviously I have only touched the very surface of what the PT has to offer. It really is such a wonderful tool and I hope, if you haven't already, you've surrendered to the idea that you must be a pen tool master if you want to do crazy Photoshop composites. Once you've got that in your virtual tool belt, you can move onto all the other selection tools. Because as amazing and wonderful as the PT is, it isn't ALWAYS the best choice for making a selection. (WHAT!?!) I guess you'll just have to tune in next time to see what selection tool I'll be diving into next! Oh and just so you don't get too excited, please note that I won't be doing all these posts about selections in a row. They will be peppered in between all my other ramblings. Can't have you getting bored if all I talk about for months is selections!
